Welcome to the Jayco Lift System Repair Manual‚ your comprehensive guide for troubleshooting‚ maintaining‚ and repairing your RV’s lift mechanism. Designed for both novice and experienced RV owners‚ this manual provides detailed step-by-step instructions‚ diagrams‚ and essential tips to ensure your lift system operates smoothly. Whether you’re addressing stuck slideouts‚ replacing worn cables‚ or adjusting the gearbox‚ this resource equips you with the knowledge to tackle repairs confidently.
Overview of the Jayco Lift System
The Jayco Lift System is a critical component of your RV‚ designed to operate slide-outs‚ leveling mechanisms‚ and other movable features. It typically consists of a gearbox‚ cables‚ motors‚ and manual cranking options. The system ensures smooth operation‚ providing stability and functionality for your recreational vehicle. Regular maintenance is essential to prevent issues like stuck components or cable damage. Understanding how the lift system works is key to troubleshooting and ensuring optimal performance. This manual will guide you through its operation‚ helping you address common problems and maintain your RV’s lift system effectively for years to come.
Importance of Proper Maintenance and Repair
Proper maintenance and timely repairs are crucial for the longevity and functionality of the Jayco Lift System. Neglecting regular inspections can lead to costly damages‚ such as worn cables‚ faulty gearboxes‚ or motor failures; A well-maintained system ensures optimal performance‚ safety‚ and reliability‚ especially during travel. Addressing issues early prevents minor problems from escalating‚ reducing downtime and potential hazards. By following the guidelines in this manual‚ you can extend the life of your lift system‚ ensuring your RV remains in top condition for enjoyable trips and secure operation.
Understanding the Components of the Lift System
The Jayco Lift System consists of a mechanical framework designed to raise and lower components of your RV‚ such as slide-outs or leveling jacks; Key components include cables‚ pulleys‚ and a gearbox that work together to distribute tension and facilitate smooth operation. The system also incorporates motors or manual cranks‚ depending on the model‚ to power the lifting mechanism. Understanding these parts and their interactions is essential for diagnosing issues and performing effective repairs. Familiarizing yourself with the components ensures you can identify wear‚ damage‚ or misalignment‚ which are common causes of system failure.
Safety Precautions and Guidelines
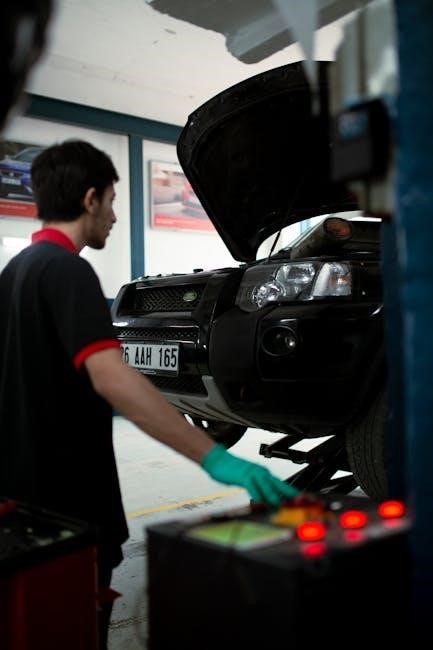
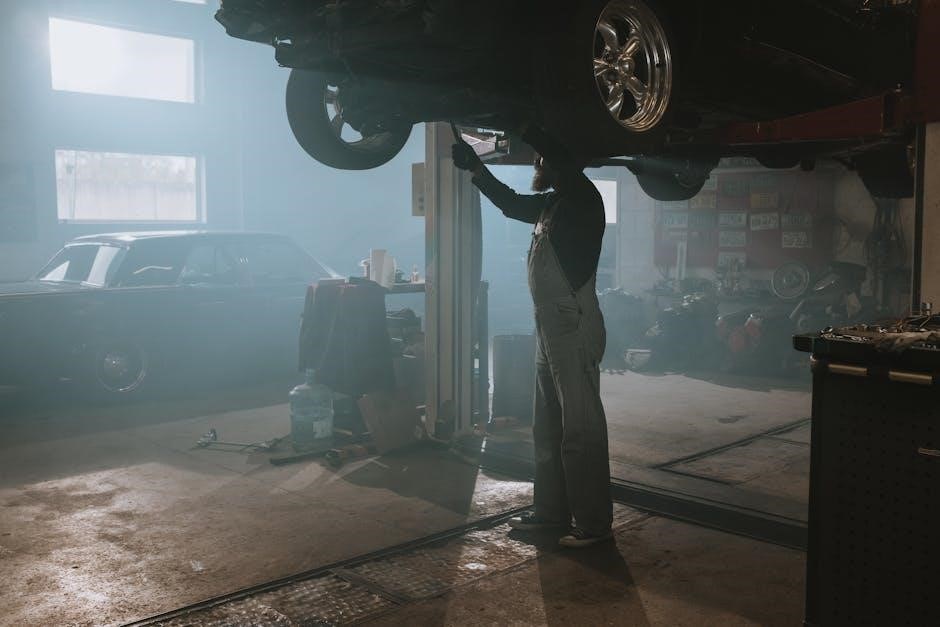
Always wear protective gear‚ ensure the RV is stable‚ and disconnect power before starting repairs. Use jack stands for support and follow manufacturer warnings to avoid accidents.
General Safety Tips for Working with RV Lift Systems
Always wear protective gear like gloves and safety glasses when working with the lift system. Ensure the RV is on level ground and stabilized with jack stands. Disconnect the power supply before starting any repairs to avoid accidental activation. Never rely solely on the lift system to hold the RV in place during maintenance. Use proper tools and follow the manufacturer’s instructions to prevent damage or injury. Regularly inspect cables‚ pulleys‚ and gears for wear and tear. Avoid overloading the system beyond its rated capacity. Keep children and pets away from the work area during repairs.
Tools and Equipment Required for Repairs

- A set of metric and SAE wrenches and screwdrivers for bolts and fasteners.
- A torque wrench for precise adjustments to the gearbox and other components.
- Plastic or metal punches for safely driving out pins without damaging parts.
- Cable cutters and crimpers for repairing or replacing lift cables.
- A multimeter to check electrical connections and power supply.
- A long‚ skinny flat-tip screwdriver for accessing tight spaces near the gearbox.
- Gloves and safety goggles for protecting yourself during repairs.
- A cable tester to identify breaks or wear in the lift system cables.
Understanding Safety Warnings and Precautions
Always read and follow the safety warnings and precautions outlined in this manual and those provided by component manufacturers. Disconnect the power supply and ensure the RV is stable before starting repairs. Wear protective gear‚ including gloves and safety goggles‚ to prevent injuries. Never overload the lift system beyond its specified capacity. Be cautious when handling electrical components to avoid shocks or short circuits. Keep children and pets away from the repair area. Follow all manufacturer guidelines for tools and materials to ensure safe and effective repairs. Testing the system after repairs is crucial to confirm proper function and safety.
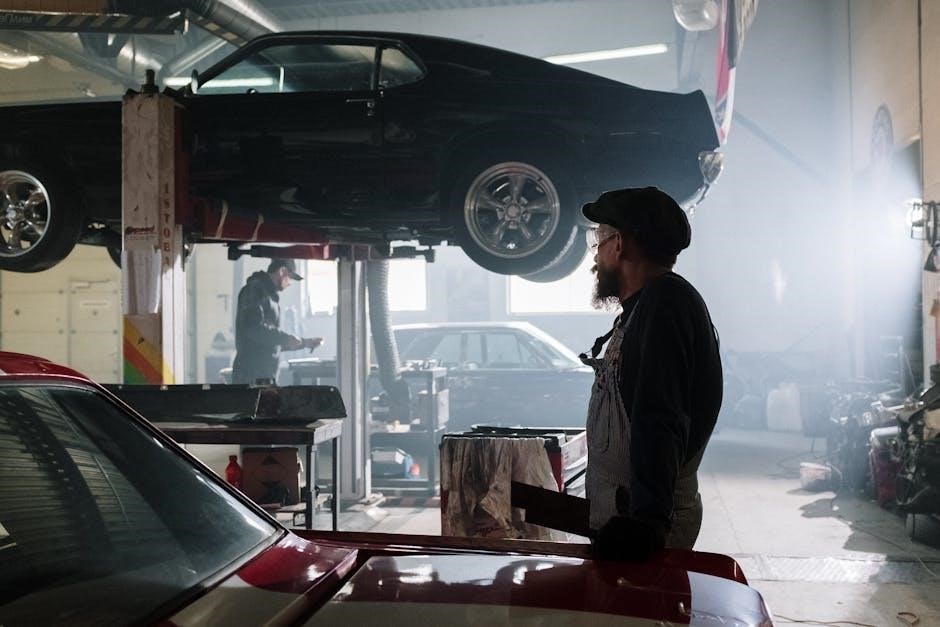
Diagnosing Common Issues with the Jayco Lift System
Common issues include stuck slideouts‚ jammed gears‚ or malfunctioning cables. Start by inspecting for visible damage or wear. Check electrical connections and hydraulic systems. Lubricate moving parts if stiff. Test the system under light load to identify faults. Refer to troubleshooting guides for specific symptoms and solutions. Always ensure the RV is level before operating the lift system to prevent uneven stress on components. Addressing problems early can prevent costly repairs and ensure reliable performance. Regular inspections help catch issues before they escalate. Keep a maintenance log to track repairs and adjustments.
Identifying Symptoms of a Faulty Lift System
Recognizing issues early is crucial for preventing further damage. Signs of a faulty lift system include slow or erratic operation‚ unusual noises like grinding or clicking‚ and difficulty in fully extending or retracting components. If the system feels unbalanced or jerky during movement‚ it may indicate worn or misaligned parts. Leaks in hydraulic systems or frayed cables are also red flags. Additionally‚ if the lift system stops working entirely‚ it could point to electrical or mechanical failures. Always inspect the system regularly to catch these symptoms before they lead to more severe problems. Addressing them promptly ensures safety and optimal performance.
Troubleshooting Techniques for Common Problems
Start by identifying the symptom‚ such as a stuck slideout or slow operation. Check the power source and electrical connections for any issues. Inspect cables for frays or damage and ensure all components are properly lubricated. If the system is jammed‚ manually crank the mechanism to release tension. For gearbox problems‚ disassemble and clean the internal gears‚ replacing worn parts as needed. Always refer to diagrams in the manual to locate and address the root cause. Testing each component step-by-step helps isolate the issue‚ ensuring effective repairs and restoring the lift system to optimal function. Regular checks prevent recurring problems.
How to Locate the Source of the Issue
To pinpoint the issue with your Jayco lift system‚ start with a visual inspection of cables‚ pulleys‚ and gears for wear or damage. Check electrical connections for corrosion or loose wires. If the system is operational but slow‚ test the motor’s power supply. For mechanical issues‚ manually crank the system to identify resistance or jams. Use the diagrams in your manual to trace components and isolate the problem. Common culprits include frayed cables‚ misaligned gears‚ or insufficient lubrication. By methodically testing each part‚ you can accurately diagnose and address the root cause‚ ensuring efficient repairs and restoring functionality.

Tools and Materials Needed for Repairs
Essential tools include wrenches‚ screwdrivers‚ and a cable tension gauge. Materials needed are lubricants‚ replacement cables‚ and gloves. Always refer to the manual for specific requirements;
Essential Tools for Jayco Lift System Maintenance
For maintaining the Jayco Lift System‚ you’ll need a set of basic and specialized tools. Essential tools include wrenches‚ screwdrivers‚ pliers‚ a hammer‚ and a utility knife. A cable tension gauge is crucial for adjusting cables properly. Additionally‚ a long‚ skinny flat-tip screwdriver can help navigate tight spaces near the gearbox. Lubricants and gloves are also necessary for safe and effective maintenance. Ensure all tools are in good condition to avoid damaging the system. Refer to your specific manual for any model-specific tools required. Having these tools on hand will help you tackle repairs and adjustments efficiently and safely.
Recommended Materials for Repair and Replacement
For effective repairs and replacements in the Jayco Lift System‚ use high-quality materials. Stainless steel or marine-grade cables are ideal for durability and resistance to corrosion. Ensure all components‚ such as pulleys and J-hooks‚ are made from rust-resistant materials. Lubricants‚ like silicone-based sprays‚ are essential for moving parts. A long‚ skinny flat-tip screwdriver is handy for accessing tight spaces. Sealed bearings and gear oil are recommended for gearbox maintenance. Always opt for galvanized or powder-coated parts to extend longevity. Source these materials from authorized Jayco dealers or reputable hardware stores to ensure compatibility and reliability.
Where to Source Parts and Accessories
For authentic Jayco Lift System parts‚ visit the official Jayco website or authorized dealers. Online marketplaces like Amazon and eBay offer a wide range of compatible components. Contact Jayco Customer Support for VIN-specific parts or technical assistance. RV forums and communities often provide links to trusted suppliers. Local hardware stores may carry generic alternatives‚ but ensure compatibility. Always verify product reviews and warranties before purchasing. For rare or discontinued items‚ consider reaching out to specialty RV repair shops or second-hand sellers. Proper sourcing ensures reliability and safety for your lift system repairs.
Step-by-Step Repair Guides

Follow detailed instructions for replacing cables‚ adjusting mechanisms‚ and repairing gearboxes. Use correct tools and refer to diagrams for precise and safe repairs. Ensure system longevity.
Replacing Worn or Damaged Cables
Replacing worn or damaged cables is crucial for maintaining your Jayco lift system’s functionality. Begin by accessing the front compartment containing the crank mechanism and cables. Inspect each cable for frays‚ breaks‚ or damage. If a cable is damaged‚ carefully remove it and install a new one‚ ensuring proper alignment and connection. Use a wrench to secure the new cable firmly. If a cable link is needed‚ attach it correctly to avoid shortening the cable. Refer to the manual or online resources for specific instructions and diagrams to ensure a precise replacement process.
Adjusting the Lift System Mechanism
Proper adjustment of the Jayco lift system mechanism is essential for smooth operation. Start by accessing the front compartment and locating the crank mechanism. Use a wrench to loosen any tight components‚ ensuring the gears and pulleys align correctly. Tighten all connections firmly‚ but avoid over-tightening‚ which can damage the system. Regular lubrication of moving parts is recommended to maintain efficiency and prevent wear. Follow the manual’s diagrams for precise adjustments and refer to online guides if additional clarification is needed. Proper adjustment ensures your lift system functions reliably‚ preventing future issues and extending its lifespan significantly.
Repairing or Replacing the Gearbox
Repairing or replacing the gearbox in your Jayco lift system requires careful attention to detail. Begin by accessing the gearbox through the front compartment‚ ensuring all cables are disengaged. Inspect for wear or damage; if severely damaged‚ replacement is necessary. Clean and lubricate moving parts if repairing. Reassemble with caution‚ ensuring alignment and proper torque. If replacing‚ install the new gearbox according to the manufacturer’s specifications. Tighten all connections securely but avoid over-tightening. Test the system to ensure smooth operation. If unsure‚ consult the official manual or seek professional assistance to avoid further damage.
Fixing Stuck or Jammed Components
When addressing stuck or jammed components in your Jayco lift system‚ start by thoroughly inspecting the mechanism for debris or misalignment; Apply a high-quality lubricant to moving parts to reduce friction. Gently maneuver the components using a wrench or pliers‚ avoiding force that could cause further damage. If a cable is jammed‚ carefully guide it back into its track. For severe jams‚ consider disassembling the affected area to identify and resolve the issue. After repairs‚ test the system to ensure smooth operation. Regular maintenance can prevent such issues‚ ensuring your lift system functions reliably over time.

Maintenance Tips for Longevity
Regularly inspect and lubricate moving parts to prevent wear. Check cables for fraying and tighten loose connections. Perform seasonal checks to ensure smooth operation and longevity of your Jayco lift system.
Regular Inspection and Lubrication
Regular inspection is crucial for maintaining the Jayco lift system. Start by examining the cables for fraying or corrosion‚ and ensure all connections are secure. Lubricate moving parts‚ such as pulleys and gears‚ using a high-quality grease suitable for RV mechanisms. Check the gearbox for proper alignment and apply lubricant as recommended. Inspect the motor and electrical connections for any signs of wear or damage. Perform these checks seasonally or before extended use to prevent unexpected issues. Addressing minor wear early can prevent major repairs and ensure smooth operation of your lift system.
Preventative Measures to Avoid Future Issues
To prevent issues with your Jayco lift system‚ adopt a proactive maintenance routine. Regularly clean and inspect all components‚ ensuring debris doesn’t accumulate in moving parts. Apply rust-inhibiting coatings to metal surfaces exposed to moisture. Store your RV in a dry‚ sheltered area during off-seasons to protect against corrosion. Avoid overloading the lift system beyond its recommended capacity‚ as this can strain cables and gears. Additionally‚ keep the system well-lubricated and replace worn parts promptly. By taking these preventative steps‚ you can extend the lifespan of your lift system and minimize the risk of costly repairs.
Seasonal Maintenance Checklist
Perform seasonal checks to ensure your Jayco lift system remains in optimal condition. Before each camping season‚ inspect all cables for wear‚ fraying‚ or corrosion‚ and replace them if necessary. Lubricate moving parts‚ such as gears and pulleys‚ to reduce friction and prevent rust. Check the tension of the springs and adjust them according to the manufacturer’s specifications. Inspect the gearbox for leaks or damage and ensure all bolts and fasteners are securely tightened. Finally‚ apply a protective coating to metal components to shield them from moisture and UV exposure. Regular seasonal upkeep will help maintain reliability and performance year-round.

Accessing Jayco Manuals and Support
To access Jayco manuals and support‚ visit the official Jayco website‚ where you can find downloadable manuals and contact customer support. Additionally‚ online forums like Jayco Owners Forum and Facebook groups offer valuable resources and advice from experienced owners. For specific guidance‚ contact Jayco directly with your VIN for detailed parts lists or diagrams. YouTube tutorials can also provide visual instructions for common repairs. If online resources are insufficient‚ consider consulting a local RV dealership or service center specializing in Jayco models for professional assistance.
How to Obtain the Official Repair Manual
To obtain the official Jayco Lift System Repair Manual‚ visit the Jayco website and navigate to the “Support” or “Manuals” section. Enter your RV’s VIN or model details to access the correct manual. If unavailable online‚ contact Jayco customer support directly via phone or email with your VIN for assistance. Additionally‚ authorized Jayco dealerships can provide printed or digital copies of the manual. For older models‚ check online forums or RV communities‚ as members often share manuals. Ensure you verify the manual’s authenticity to guarantee accurate repair information.
Online Resources for Jayco Lift System Information
Several online resources provide valuable information for maintaining and repairing the Jayco Lift System. The official Jayco website offers downloadable manuals‚ troubleshooting guides‚ and FAQs. Additionally‚ forums like the Jayco Owners Forum and RV Repair Club host discussions where experienced RV owners share tips and solutions. YouTube channels dedicated to RV repairs often feature step-by-step videos for common lift system issues. Websites like ManualsLib and ManualsOnline also archive Jayco repair manuals for easy access. These resources collectively offer a wealth of knowledge to help you diagnose and fix problems efficiently. Explore these platforms for comprehensive support.
Contacting Jayco Customer Support
Contacting Jayco Customer Support is essential for specific inquiries or issues that require official assistance. You can reach Jayco by visiting their official website and navigating to the “Contact Us” section. Additionally‚ calling their customer service hotline or emailing their support team directly can provide personalized help. Be prepared to provide your RV’s VIN number and a detailed description of your issue for efficient assistance. Jayco’s support team is available Monday through Friday during business hours and aims to address your concerns promptly. For complex repairs or rare parts‚ their expertise is invaluable to ensure your lift system operates safely and effectively.
Thank you for using the Jayco Lift System Repair Manual. With proper care and adherence to guidelines‚ your RV’s lift system will function reliably for years to come.
Final Tips for Successful Repairs
Always follow the manual’s instructions precisely and use recommended tools to avoid further damage. Test the lift system after repairs to ensure proper functionality. Keep the mechanism clean and lubricated to prevent wear. Store replacement parts and tools in an accessible location for future use. Regularly inspect cables‚ gears‚ and motors to catch issues early. If unsure‚ consult Jayco support or a professional. Proper care ensures safety and longevity‚ saving time and money. Remember‚ patience and attention to detail are key to successful repairs and maintaining your RV’s reliability.
Encouragement to Follow Proper Procedures
Adhering to the procedures outlined in this manual is crucial for the safety and effectiveness of your repairs. Skipping steps or ignoring guidelines can lead to system failure or personal injury. Proper techniques ensure longevity and reliability of your lift system. Take pride in your work and remember‚ thoroughness now prevents costly issues later. By following these steps‚ you’ll gain confidence in maintaining your RV and extend its lifespan. Stay methodical‚ and trust the process to achieve professional-level results. Your diligence will pay off with a fully functional and secure lift system for years to come.